Tuesday, January 14, 2014

Snowman Math, PreK Style

 The kids had a great time with this project. First we compared the children's heights so everyone fully understood the concept of our activity.

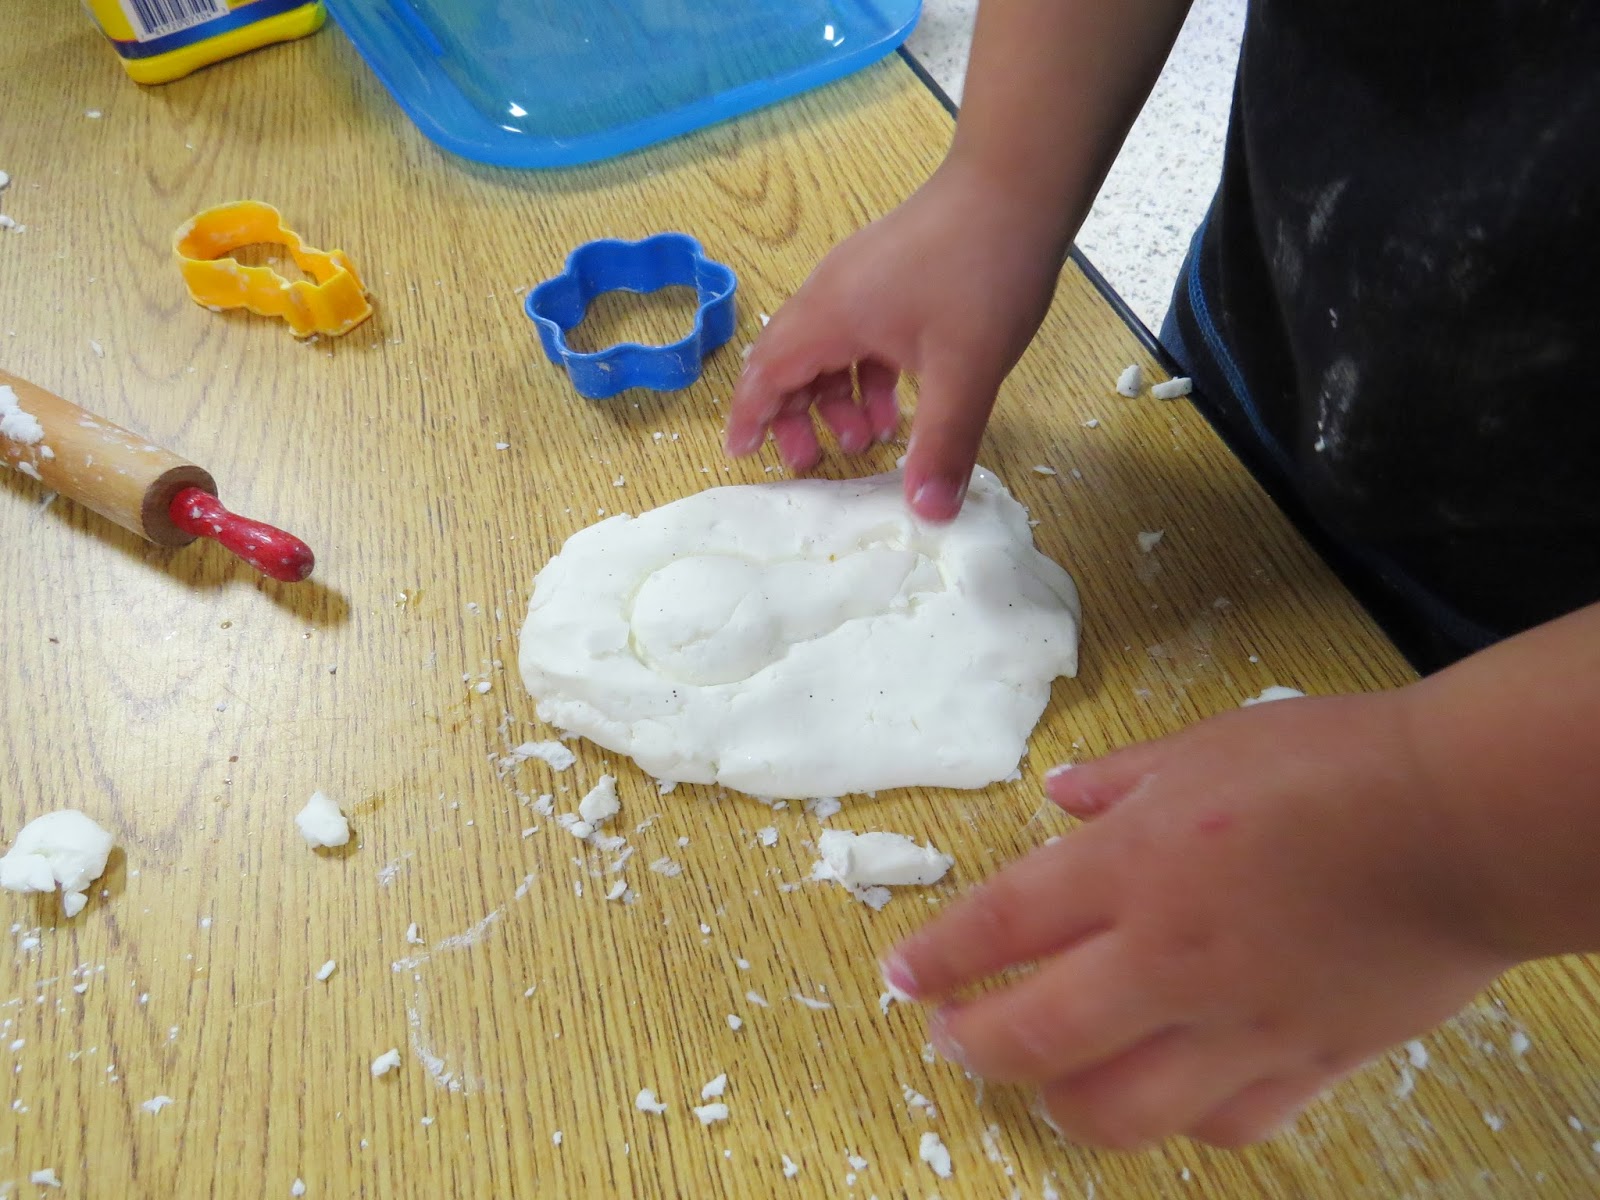
Keywords and Concepts:
     Short
     Shorter
     Shortest
     Tall
     Taller
     Tallest
     Equal
     Same Size


The kids took turns measuring and comparing their heights with their friends. I loved when one of them would look up several inches to a friend and with a flat hand on their head take it up to the top of their friends head and declare they were the same size or taller.  When comparing others they could clearly see a height difference but when comparing themselves it was much harder for them.


~ When hanging up our snowman we made sure he was about the average height of  the kids in our classroom to ensure that we could meet all three of our statements. This would not work as well if most of the kids were shorter or taller than the snowman.
~ We also had to decide if we were measuring from top of his head or the top of his hat. We choose his head but we had to improvise with an outline of his head on the hat because we had glued on the hat and the kids couldn't figure out where the top of his head was.

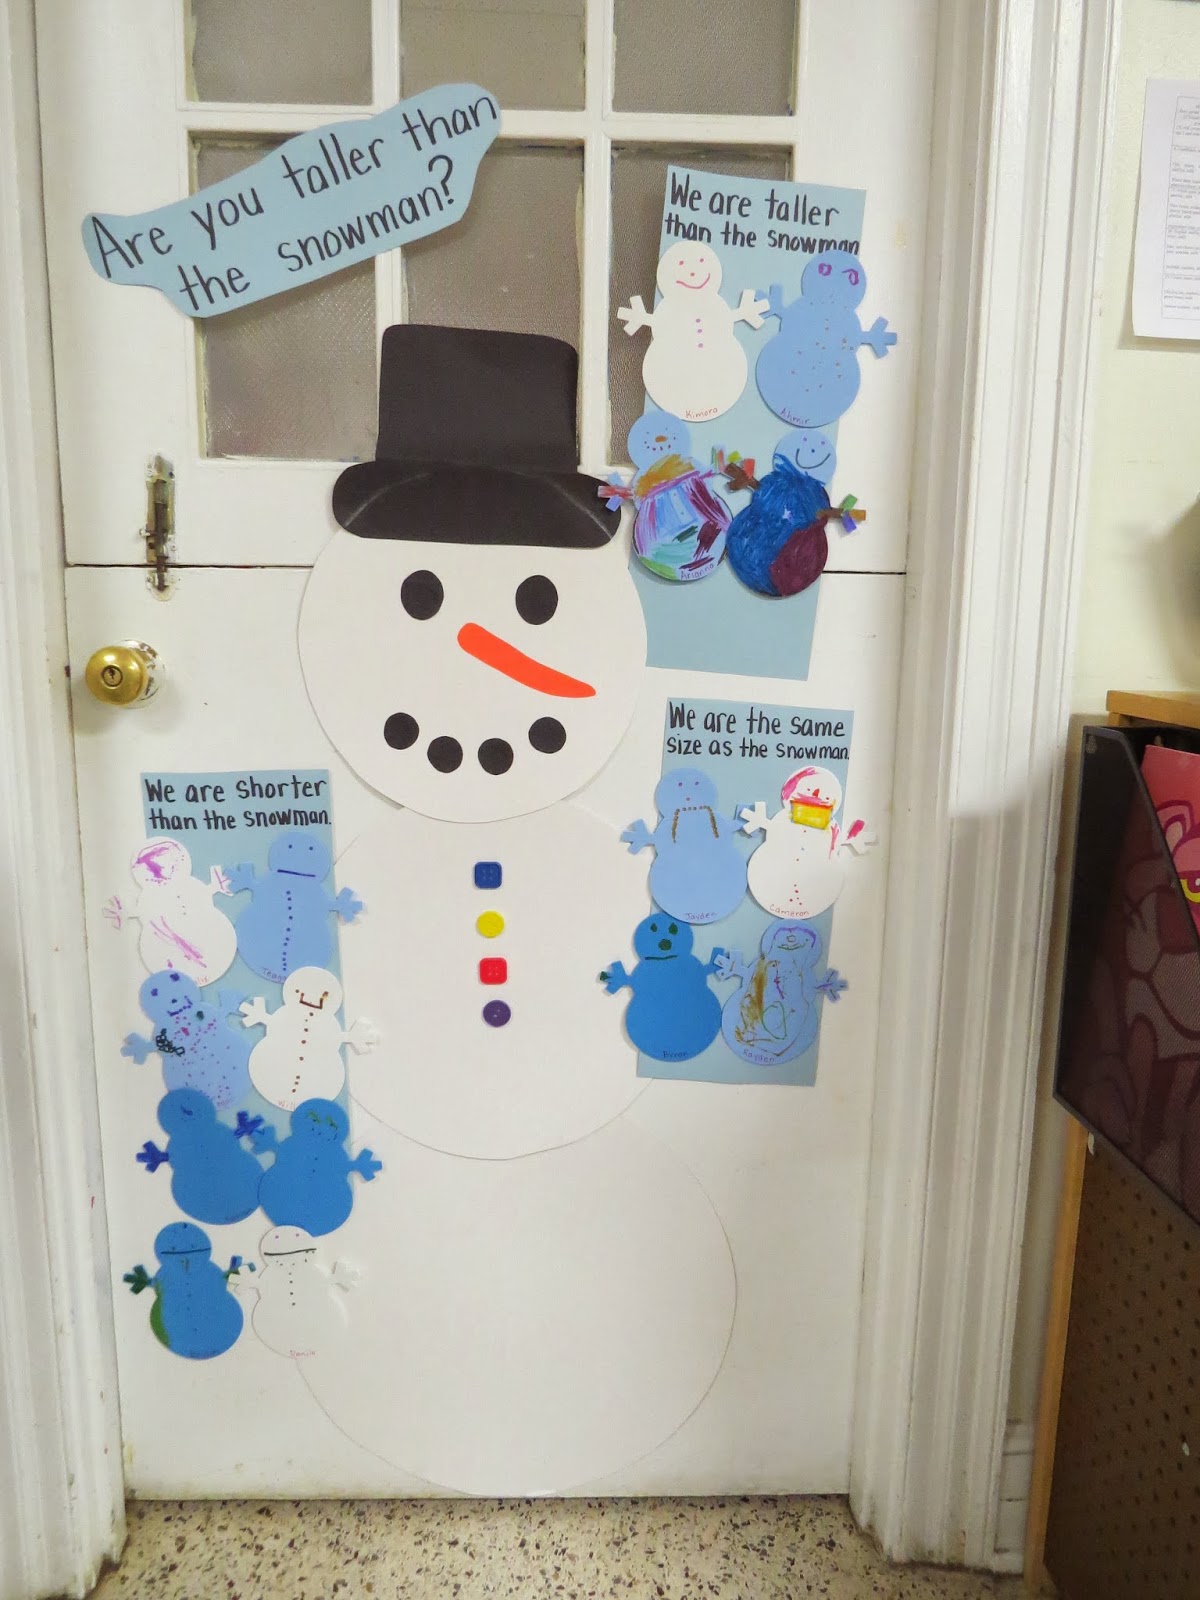
Each of them decorated a snowman with markers before we added them to our door.   This worked well for two reasons. First, it gave them each a way to personalize their snowman and make it their own. But it also gave us a way to break up the group of 18 kids so we could get them all measured and on the door in a somewhat orderly fashion.

As they finished with their snowman they brought it to me at the door and I had them guess if they were taller, shorter or the same size as our snowman. Then we measured. I helped them hold a ruler on the top of their heads and then they stepped away from the door to see where they measured.

This is displayed on the inside of our classroom door so the kids are proud to show their parents how tall they are compared to our snowman. (:


Tuesday, January 7, 2014

It's Freezing, PreK Style!


What will happen to our cups of water if we put them outside tonight?

That was yesterday and it got down to 6 degrees last night... so let me show you what happened...

The kids filled  their cups with water,  added a squirt of liquid watercolors and then we put them outside of our classroom door.

We had a two hour delay this morning because of the cold weather and didn't get a chance to check these out until almost lunch time. It was below freezing all day so I didn't think that would matter a whole lot..  lol 

I sent the kids out a few at a time to get their cups and see what happened to their water.

The kids guessed correctly that they would find ice instead of water in their cups. They were mostly right but we found some other interesting things. The color (liquid watercolors) seemed to have separated from the water in the cups with the paint settling near the bottom of the cups. We could see the color through the ice but the tops were clear.

We also found that not all of the water was frozen! As cold as it was outside for nearly 24 hours we still had liquid in some of the cups! Wonder why? Not really sure myself unless there is something in the paint like alcohol that keeps it from freezing. 

They were all together against the building though there were some differences such as the amount of water and/or paint in each cup. The kids filled the cups by themselves so some were very full and others had little water in them.

The cups were in the shade the whole time and some were closer to the door than others. Did any of that make a difference? Really not sure about the why's but the kids had a great time exploring the ice and comparing how they were alike and different.

They talked about how cold the ice was and thought it was really cool when someone turned one over and the colored water went all over the table.

I loved the designs in the ice and how the paint and the water separated. We had a few kids out today so we still have a few untouched and we put the others back in their cups and back outside without the water from the tables..lol  We will look at them some more tomorrow and see what changes we have, if any.

It's suppose to stay below freezing again tonight and we are already on a two hour delay but we will make the most of it.

We did add more conditioner to yesterday's snow dough and made a little more. This time it got put in a ziplock bag to help it stay soft and pliable. The kids (and the teachers) have really enjoyed playing with it.


Monday, January 6, 2014

Cold Winter Days PreK Style

What to do on a cold winter day?

We chose to embrace the cold and enjoy it for what it is and have a little fun if we were going to be stuck inside.

Our first experiment of the day was SNOW DOUGH!! There are many recipes out there but I  wanted something I didn't have to cook with few ingredients.

Bonus: I everything I needed on hand! So no impromptu stops at the grocery store or WalMart on the way to work this morning. (:


SNOW DOUGH:

1 part Conditioner
2 parts Corn Starch
lots of sparkly glitter.

I didn't get all technical about our recipe. We used Pantene because that's what I had. We also didn't use an actual measuring cup but a couple of empty playdough containers that was in our classroom cupboards. After we got it mixed up well, we had to add a little extra corn starch so it wasn't so sticky.
 If you have the choice I think the fine smaller particle glitter works best with this. We used silver :)    This recipe makes the smoothest, softest dough ever, by the way.   It also smells really good and made by hands really soft.


The teachers enjoyed playing with this as much as the kids did I think!

After an hour or so I think it was getting a little crumbly. I'm going to take in another bottle of conditioner in the morning and see if I can soften it back up.

Worked great with our rolling pins and cookie cutters.

We did make quite a mess on the floor and our carpet had some white footprints but it should clean up pretty easily. :)


Want to know what else we did today????

Well it's suppose to be like 5 degrees in the morning (school is actually now on a 2 hour delay so hopefully a little warmer than that by the time the kiddos get there) so we talked about what happens to water when it gets cold and snowmen when it gets warm.. you get the idea.  And what would happen if we put cups of water outside tonight? So we did with some liquid watercolors of their choosing to spice it up a little...    I also took a moment and talked to the kids about what could happen to our pets if they were left outside in this cold weather and how we should bring them in and make sure they are warm.

I'll post some more pics tomorrow and let you know what happened to our water...   oh, and we are going to try blowing bubbles in the cold in the morning....wish us luck, prek style!! :)


Sunday, January 5, 2014

Literacy & Playdough PreK Style

Always looking for ways to add literacy to our learning centers.
Preschoolers love playdough so why not add laminated letters, words and names along with alphabet cookie cutters to enhance their play.

Great fine motor skill activity as they roll out the playdough in long snakes. A pair of safety scissors and they can cut it as short as they want it.
I simply cut letters out of construction paper and placed the letters on a full sheet of paper then ran them through the laminator. You could just write the letters if you wanted to but I wanted the letters nice and wide. (: